At the end, Success!!
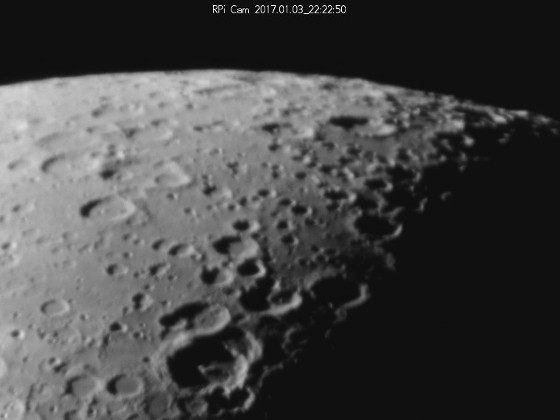
First correct photos!!
January 04, 2017After a lot of work and a bit of patience, I'm very proud to show you my first correct photos taken with the raspberry pi and my telescope. Several major improvements have been done,
-
The use of wifi for the connection from the laptop change everything.
-
Reading the manual of the telescope made me discover a new possibility to take photo from the back of the telescope.
-
As consequence of the two last point, the shape of the set up was completely rethinking.
-
The use of a web interface for the raspberry pi camera is also greatly simplifying the job.
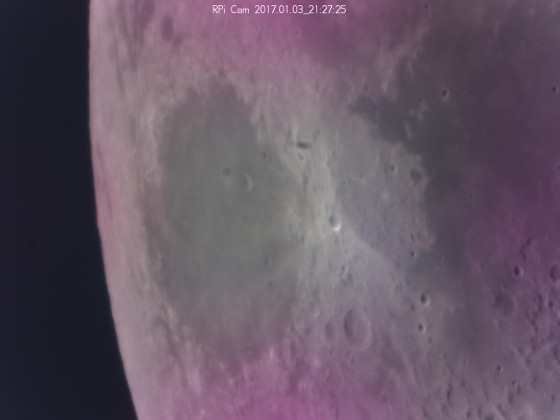
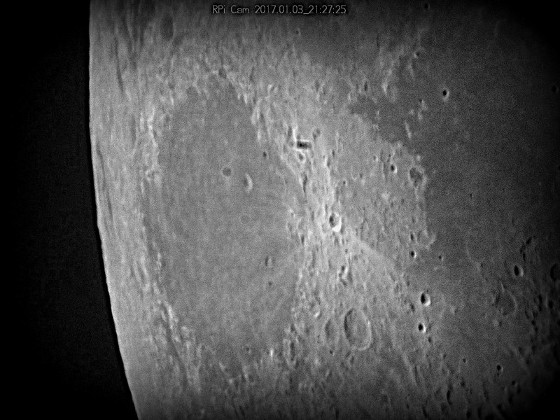
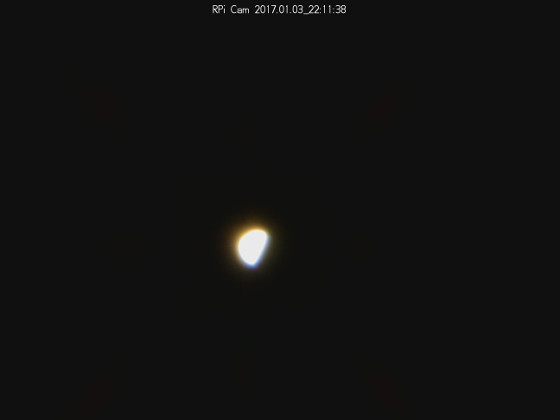
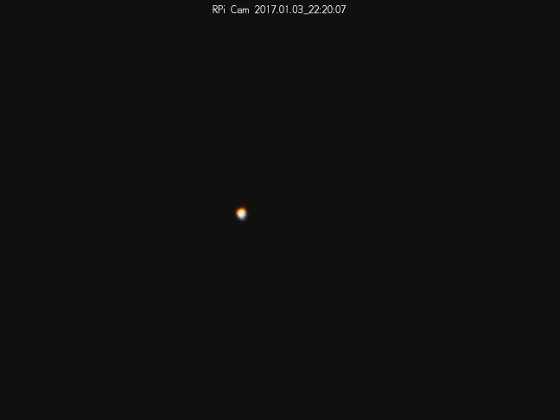
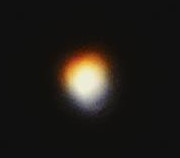
And the last thing, but not the least, a super nice video of the moon!!
You can clearly appreciate the velocity at which the moon is moving (mainly caused by the earth rotation). So it give you an idea of how difficult it was to take photo of Venus and Mars Since I'm moving manually the telescope. One of the next improvements is to use the motor of the telescope for the movements. You can downloads all the pictures and videos of the sessions.
The new setup
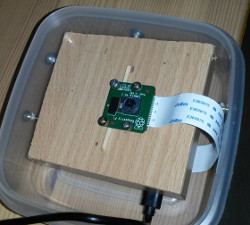
I totally changed the setup for the raspberry pi. I managed to connect a usb donglet that worked from scratch using the new version of raspbian (but not with the preinstalled version). Therefore, using an ad-hoc connection between the raspberry pi and my laptop I can access to the raspberry pi without router. So goodbye the big polystyrene block, I chose to screw the raspberry pi and the camera to a small piece of wood the whole thing put into a small plastic box to protect the setup.
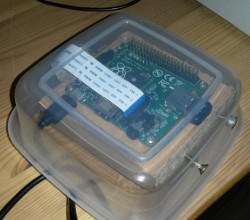
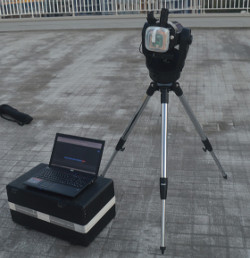
And finally everything together at the begin of the session.
The easiest way to use the camera interface through wifi with the laptop, is to use a web interface that was develop by the community and freely available: RPi-Cam-Web-Interface